

Sod Consultation-Tips for Success
Planning and Maintenance Play a Key Role to Success
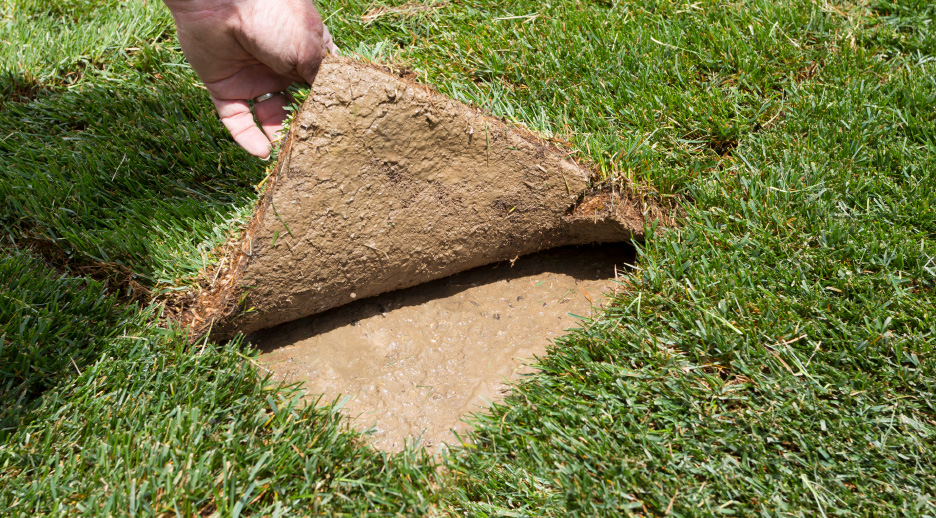
1. Plan:
The time spent planning a sod installation job from start to finish is more than recovered in saved labour hours, materials and almost always results in a better overall job. Every aspect of the installation needs to be considered from selecting the proper species or variety best suited to the requirements of the area and making sure the sod is properly irrigated from the time it is installed.
2. Prepare:
The soil on which the sod is laid impacts the final product in every way. Both the physical and the chemical properties of the soil will potentially affect the turf quality. The contours of the prepared ground are reflected directly in the finished product, which makes grading an essential step to a desirable result. Besides producing a smooth final product, grading should also allow for sufficient surface drainage to eliminate pockets of water and ice, ensuring better turf long term. Keep in mind that heavily compacted soil make it more difficult for the turf to put down roots, so loosen any soil that is so hard that it lacks tracks when driven across or appears “glazed” from the shaping blades.
Any size job can benefit from soil testing to provide appropriate fertilizer analysis and rates. Apply and incorporate a preplant fertilizer into the soil prior to installation so that the phosphorus can be where the roots need it; applying fertilizer on top of the sod will delay uptake of vital nutrients. If the jobsite has had the topsoil removed, it may also be necessary to incorporate organic matter in addition to the fertilizer for the best long-term results.
3. Install:
Time is critical when installing sod, especially during warm weather. Make sure that the soil is not dry or too hot when the sod is installed to prevent severe damage to the roots. Lay sod with ends staggered, sides and ends tight together and with full width rolls to the edges of the area to maximize moisture retention. If a piece isn’t quite long enough to cover the distance, it is better to substitute a large piece rather than trying to “stretch” the sod to fit or installing a small piece that is more likely to dry out.
Many find that rolling helps the sod to make better contact with the ground, but this should be done before watering to prevent excessive compaction of the sod. Excessive rolling should not be a substitute for poor grading prior to installation and can result in a weak stand of turf.
For best results water the sod as soon as possible after it is laid down, preferably in the first fifteen minutes. To ensure the most rapid rooting of the new sod, water just enough to keep the sod and soil beneath moist to prevent stress until sod is rooted into the soil. Follow this link to our watering guide for more information.
4. Maintenance:
Mowing should begin within one week after installation to prevent scalping, although this may vary depending on the type of turf. Walk the area first to determine if the soil is dry enough to carry the weight of the mower without creating ruts and ensure that no more than 1/3 of the leaf blade height is removed with each mowing.
Fertilizer should be applied on a regular basis. Sod is typically not fertilized just before harvesting to prevent “heating” which could damage the turf. To maintain the health of the turf, it is necessary to start the recommended fertility program for your selected sod type and site soil soon after the installation process. Avoid large amounts of quick-release fertilizer as this will impede rooting of the turf.
5. Conclusion:
Without a doubt, there is no substitute for planning. Taking the time to consider every aspect of the project from start to finish and taking into account the time-sensitive components of sod installation will reduce the stress on not only you, but your turf in the end.
Hamilton
Hamilton Sod
2907 Upper James St.
Mount Hope, ON
L0R 1W0
(905) 389-1315
Cambridge
Compact Sod
1625 Kossuth Rd.
Cambridge, ON
N3H 4R6
(519) 653-7494
London
Middlesex Sod
4227 Dundas St.
London, ON
N5V 5C6
(519) 268-7518
Niagara (Fenwick)
Young Sod Farm
360 Foss Road.
Fenwick, ON
L0S 1C0
(905) 892-2681
Oakville - Outlet
Ontario Sod
2376 Royal Windsor Dr.
Oakville, ON
L6J 7Y2
(905) 849-1915
Halton
Halton Sod
(905) 878-1011
Brampton
Brampton Sod
(905) 450-5715
Niagara - Outlet
Niagara Sod
130 Bunting Rd.
St. Catharines,
ON L2P 3G5
(905) 984-8448
Hamilton
Hamilton Sod
2907 Upper James St.
Mount Hope, ON
L0R 1W0
(905) 389-1315
Cambridge
Compact Sod
1625 Kossuth Rd.
Cambridge, ON
N3H 4R6
(519) 653-7494
London
Middlesex Sod
4227 Dundas St.
London, ON
N5V 5C6
(519) 268-7518
Niagara (Fenwick)
Young Sod Farm
360 Foss Road
Fenwick, ON
L0S 1C0
(905) 892-2681
Oakville - Outlet
Ontario Sod
2376 Royal Windsor Dr.
Oakville, ON
L6J 7Y2
(905) 849-1915
Halton
Halton Sod
(905) 878-1011
Brampton
Brampton Sod
(905) 450-5715
Niagara - Outlet
Niagara Sod
130 Bunting Rd.
St. Catharines,
ON L2P 3G5
(905) 984-8448
Copyright © 2026 Greenhorizons Sod Farms. All Rights Reserved.