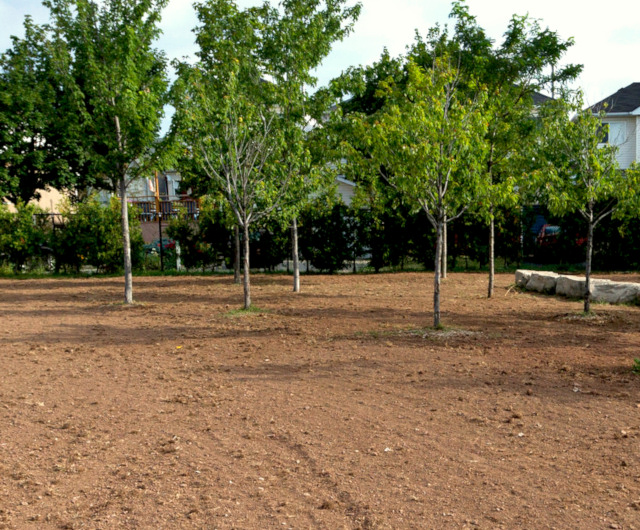
Step 1: Bare the Area to Make Room for the 3D Sod Blend
Only lay your 3D SOD BLEND on bare soil. One of three options will remove the existing turf:
1. Rototill, rake debris, level surface, lay sod.
2. Alternatively, rent a small sod harvester and remove the old turf to make way for the new sod.
3. Finally, set your mower very low to the ground. Mow and rake off debris. Put down a thin, good quality layer of top soil before sodding.

Step 2: Grade Surfaces Carefully
Level all surface to be sodded. In order to accommodate the thickness of the sod, soil surfaces should be 1 inch below walks, patios, and driveways. A light rolling will show up soil depressions or surface irregularities. These can then be leveled.
Step 3: Fertilize the Area
Your free turf starter fertilizer can be applied either on soil surface or on top of sod after it is down. The sod will use the fertilizer over the next few days. Simply, apply fertilizer evenly at the recommended rate. Next, rake it in lightly. Be sure the soil is even and smooth before laying 3D SOD BLEND. Remember, use Greenhorizons turf starter fertilizer for best results.
Step 4: Lay 3D Sod Blend
Begin laying sod as soon as possible upon delivery, especially in the spring (May, June) to avoid damage from heating. Therefore, sod that cannot be laid for an extended period of time must be unstacked to allow air circulation.
Sod laying tips:
- Don’t overlap
- Lay the sod in brick-work fashion
- Stagger your joints
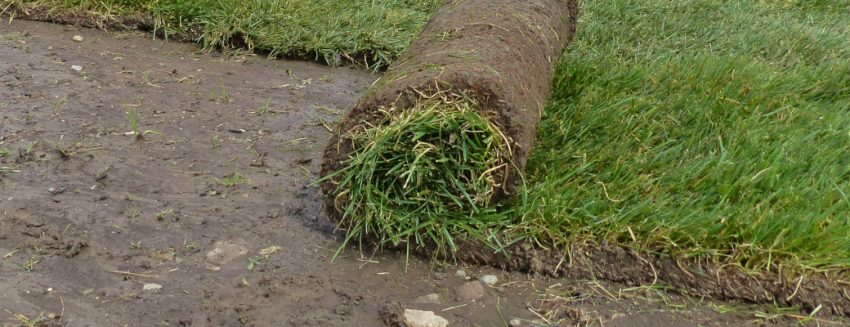
Lay the first strip of 3D SOD BLEND along a straight line (use string for a guide). Butt joints tightly; do not overlap edges. When laying second strip, stagger joints, much as in laying bricks. Use a sharp knife to cut sod to fit curves, edges, sprinkler heads, etc. Don’t overlap.

Step 5: Water, Water, Water!
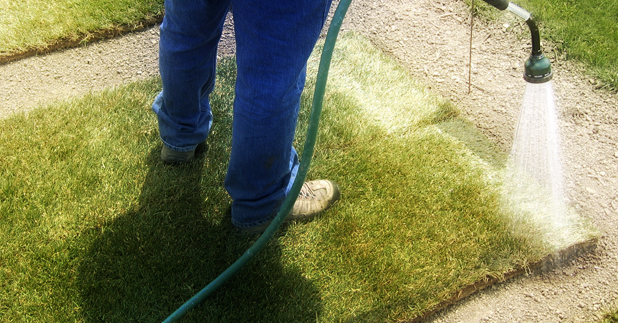
If a large area is being sodded with 3D SOD BLEND, do not wait until the entire area is laid before watering. Begin watering your lawn as soon as a “sprinkler-sized” area is laid. Then go on to the next section. On a hot day do not leave laid sod for more than an hour without water. On a cooler, overcast day, do not leave it for more than 2 hours. Increase sod laying success by a whopping 99% by watering!
Watering newly-laid 3D Sod Blend:
- Water is the single most important tip for successful sod installation.
- Water Immediately! Our basic rule has always been: a half inch of water in the first 10-15 minutes is better than 6 inches of water a few hours later.
- Water Deeply! To maximize results, the ground must be kept moist.
- Check to see if water has penetrated the sod by lifting a corner and checking the ground underneath.
Step 6: Roll New 3D Sod Blend

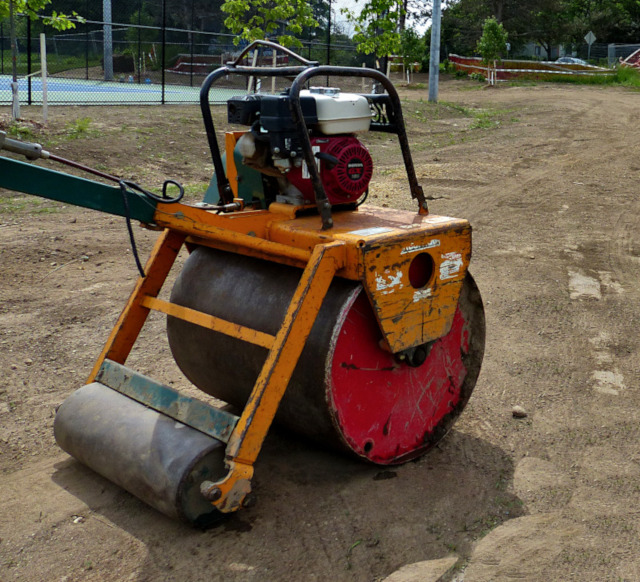
Roll your new GREENHORIZONS lawn to even out the turf joints and to ensure good contact between turf roots and the soil. Rolling is also effective in eliminating air pockets.
Step 7: Keep Moist
Keep your new 3D SOD BLEND well watered for at least two to three weeks. This will assist the turf edges to knit and the roots to become established. Now you’re ready to enjoy years of pleasure with your beautiful new Greenhorizons lawn!

Do you still sell the 3D sod Hamilton Sod previously supplied? What do you recommend for overseeding 3D sod?
Hey Steve,
What used to be our 3D Sod is now our Premium Kentucky Bluegrass! We have BigYellowBag overseeding bundles available for purchase at https://www.bigyellowbag.com/discounts/new/ (only in select Greenhorizons delivery areas) and that is the best option for overseeding.
Let me know if you have any further questions!
All the best!